Using computers well enough for GIS
Introduction
In this lab you will learn some important skills for working with computers that will be helpful in this class and for many others. We will practice organizing data on a computer and extracting zipped archives.
In this lab you will also be introduced to using the terminal. Having some familiarity with using terminals to interact with computers is useful because it forces you to understand some basic aspects of computer organization, and if you continue after this class to pursue a career in GIS or any other computer intensive field, it is incredibly useful. If you learn how to use the terminal well you will probably use it frequently.
That said, you will not have to be great at it for this class. It will only be used for a couple of basic things, most importantly showing me how you are organizing your data.
For this lab you should create a text document (e.g. Word, LibreOffice, or Google docs, etc…) and add the Scrrenshot from Task 1 and answers from Task 2 (in steps 8, and 9), on Canvas. You do not have to turn in anything for Task 2, but you will need to have your OneDrive configured properly for the rest of the quarter, so don’t skip it!
Task 1: Terminal Tutorial
Complete part 2, Navigating Directories, in Terminal Tutor. Feel free to do the first part too if you want, it is worthwhile. Take a screenshot when you are done, include the screenshot in the document.
This introduces you to POSIX shells. If you are using Mac or Linux, your terminal will behave like the one in the tutorial, if you are on a Windows computer you can use use PowerShell, which in many ways behaves like a POSIX shell.
Task 2: Exploring a Directory Structure and unzipping files
- Download the toy data here (Open the linkin a new tab and click the Download raw file button on the right side). For now, save it in your Downloads folder. While it is possible to work with data that is in your Download directory, it is a bad habit, and will likely lead to mayhem and frustration. For now, we will do just that, so unzip
toy_data.zipright into the download folder (see Tip 1 for how to do this.).
To unzip:
- Windows (GUI): In File Explorer, find the
.zip, right-click → “Extract All…,” choose your desired destination folder, click Extract. - macOS (GUI): In Finder, double-click the
.zipto expand it, then drag/move the extracted folder into your destination folder. - Linux (terminal):
cd ~/Downloads(or wherever it landed), then rununzip SPR_data.zip -d <destination directory>(replace<destination directory>with your actual destination directory. Install unzip if missing:sudo apt install unzip).
What is a zip file? A zip file is a compressed archive. Zipping a folder full of sub-directories and files compresses the data (makes it take up less memory) while preserving the directory structure. When you unzip, or extract the data you get back an uncompressed copy. Zipped files are smaller, so they are good for transferring data, or long term storage when the data is not in use. Do not work directly with files compressed in a zip! .While QGIS and other applications can read files from inside of a zip, it is a bad idea to do so. There are many processing tools that cannot work with the compressed file. Often you will get part of the way through a workflow and try some step of your analysis, only to get an error about unsupported file types.
- Create a working directory,
nr218for the class in your home folder (see Tip 2).
- Windows:
C:\Users\<username>(shows as “This PC > Windows (C:) > Users >` in File Explorer). - macOS:
/Users/<username>; Finder shows it with a house icon under Go → Home. - Linux:
/home/<username>(or occasionally/Users/<username>); in a terminal it can also be called~, and file managers usually label it “Home.”
- Open QGIS and start a blank project.
- Press
Ctrl+S. This opens a dialogue for saving the QGIS project. Navigate to thenr218directory you just created. Name the project after you CalPoly email address (e.g.mthuggin. Note that this would be a terrible thing to actually name a project). You have now saved a file containing the project. - Press
Ctrl+Shift+V, this is the keyboard shortcut to open a vector file (Do not worry if you do not yet know what I mean by vector file). Navigate to~/Downloads/toy_data/WellNamedFilesand selectEaton_Perimeter_20250121.geojson. You should now see a polygon in the map (something like Figure 1)
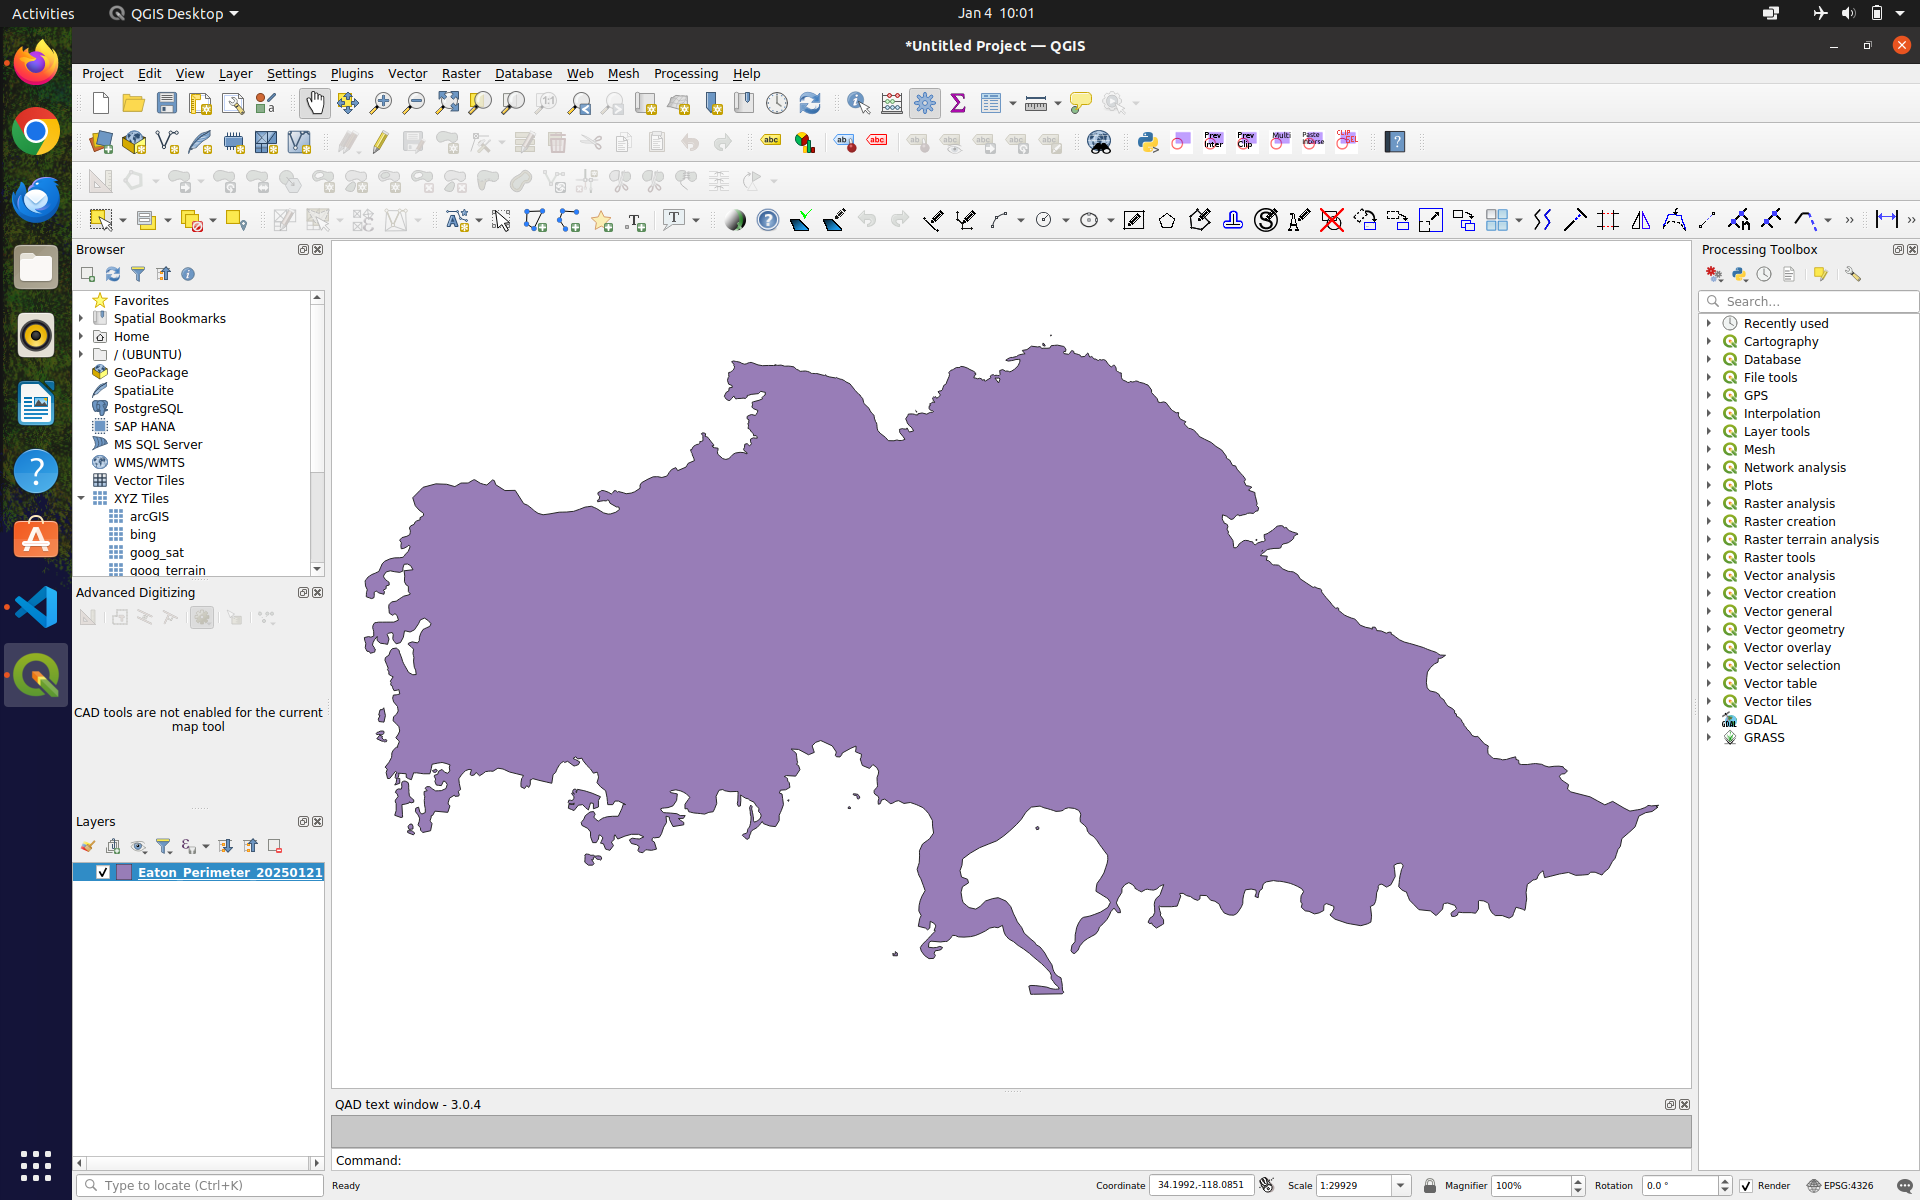
Eaton_Perimeter_20250121.geojson. It is a polygon showing the Eaton Fire perimeter
- Close the project (Project -> Close in drop down menus).
- Move the
toy_datafolder from your Downloads folder to~/nr218 - Open the project you previously saved (Project -> Open Recent in drop down menus)
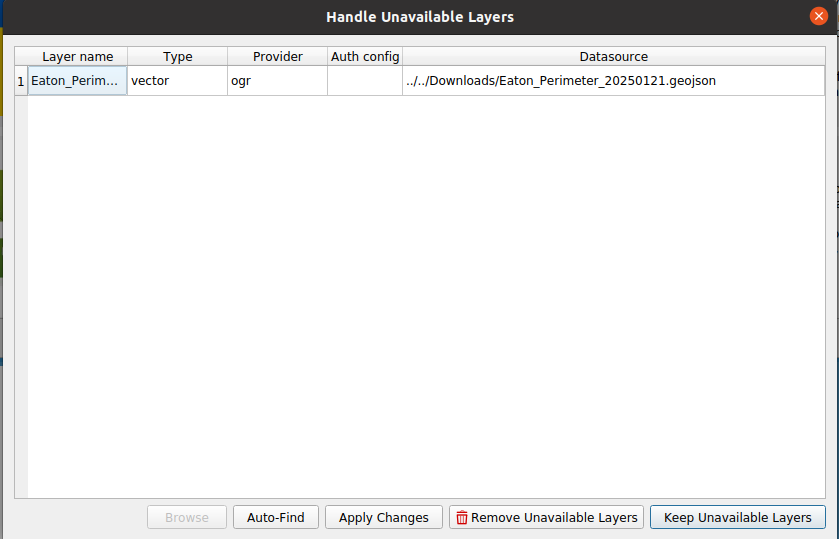
- Now QGIS cannot find the Eaton Fire perimeter data because the relative path to the data has changed (see Tip 3). A dialogue such as the one shown in Figure 2 will appear. Don’t worry about trying to fix the problem yet.
- Open a shell (macOS/Linux: Terminal; Windows: PowerShell) and navigate into the directory with the files,
cd ~/nr218. - View the contents of the directory:
- In the terminal (while in
~/nr218) typetree. (on Windows, in PowerShell,treeomits files by default, so usetree /Fwhere the F flag tells it to include files.)- macOS/Linux, install if missing:
brew install tree/sudo apt install tree. - Windows PowerShell:
treeshould be present. If you love typing you can useGet-ChildItem -Recurseinstead.
- macOS/Linux, install if missing:
- Copy the output and paste at the top of your text document.
- In your text document answer the following questions.
- Type “pwd” in the terminal, this shows the full path to the present working directory, what is the output (paste it)?
- Based on the contents of the directory, what do you think are some best practices for naming files?
- Why do you think working on files that are in your download folder is a bad idea?
You will use tree and pwd throughout the quarter to show me how you are organizing your data. In order to do this you will also need to know how to navigate into your working directory (see Tip 3).
A path is a string that uniquely identifies an item in a file system. Generally, a path is composed of directory names, and optionally a filename, all separated by delimiters.
QGIS, and other applications keep track of where data using relative paths, as opposed to absolute paths. An absolute (or full path) is the path to the file relative to the root directory, for example, on my laptop the directory for this class has an absolute path /home/michael/CP/nr218, where the root directory is just /. The directory called home is directly below / in the hierarchy, thus the full path to home is /home (or /home/, a directory can be written with a trailing slash). Similarly the full path to the directory michael is /home/michael (or /home/michael/, or using its alias ~, see Tip 2).
A relative path is the position of a file relative to the position of the file that is looking for it. For the QGIS project file in your nr218 directory, the relative path to the Eaton_Perimeter_20250121.geojson was ../Downloads/toy_data/WellNamedFiles/Eaton_Perimeter_20250121.geojson (../ means parent directory or up one level). When you moved it, the relative path changed to WellNamedFiles/Eaton_Perimeter_20250121.geojson (or ./WellNamedFiles/Eaton_Perimeter_20250121.geojson, where . means the present directory). When you re-opened the project after moving the data, QGIS read the project file which told it, “Load the Eaton perimeter file found at ../Downloads/toy_data/WellNamedFiles/Eaton_Perimeter_20250121.geojson.” QGIS looked at that relative location, and the file was missing, so it complained to you with the dialogue box. In order for an application to use a file, it must know the path to that file.
In a (bash-like) terminal you can change directories using the cd command to navigate to a directory by giving ita path. You can use and absolute path, e.g. cd /home/michael/CP/nr218 or equivalently cd ~/CP/nr218. Or you can use a relative path, cd ../ to go to the parent directory, cd ../../ to go up two levels in the directory hierarchy. If you are in /home/michael, cd CP/nr218 would do the same thing as cd /home/michael/CP/nr218.
Task 3: Set Up OneDrive Sync (Cal Poly Account)
For this class you will need to use the OneDrive client (or rclone) for your platform to sync your Cal Poly OneDrive. Short directions for setting up OneDrive are given here, if you are having trouble refer to the guide.
Windows (OneDrive client)
- Open OneDrive from the Start menu and sign in with your Cal Poly email; complete campus SSO/MFA.
- Choose a local folder location (default is fine) and finish setup.
- Confirm the OneDrive folder appears in File Explorer and shows sync status icons.
- Right-click a class folder → “Always keep on this device” to make sure it is offline-ready.
macOS (OneDrive client)
- Install OneDrive from the Mac App Store (or Microsoft download if allowed).
- Launch, sign in with your Cal Poly email, and complete campus SSO/MFA.
- Pick the local sync folder location and finish setup.
- In Finder, confirm the OneDrive folder exists and shows status icons; choose “Always Keep on This Device” for the class folder.
Linux (rclone)
- Install rclone (e.g.,
sudo apt install rclone). - Run
rclone config→nfor new remote → name it (e.g.,calpoly-onedrive) → storage typeonedrive. - Use the browser flow to sign in with your Cal Poly email and complete SSO/MFA when prompted.
- Create a local sync folder (e.g.,
mkdir ~/CalPolyOneDrive). - One-time sync:
rclone sync calpoly-onedrive: ~/CalPolyOneDrive. - Optional mount for live access (requires FUSE):
rclone mount calpoly-onedrive: ~/CalPolyOneDrive --vfs-cache-mode writes &(keep terminal open). - Note any errors and how you resolved them (e.g., MFA prompts, permission issues).
- Alternately figure install this OneDrive Client, and tell me if it works out for you (I have not tried it).
You may have to ask the IT department to approve rclone to attach to your OneDrive (and wait for them to do so), if this is the case it will prompt you to do so. If you are having problems consult the rclone documentation.